
Using Temporal Cloud with AWS Certificate Manager
![]()
Overview
Temporal Cloud uses mTLS for authenticating a client (Temporal SDK) against a Namespace. There are of course, many certificate management solutions. Organizations typically provide their own in-house certificate management systems or leverage a provider. When leveraging a provider it is critical that private not public certificates are used with the Temporal Cloud. In this article we will walkthrough generating private certificates for Temporal Cloud, using AWS Certificate Manager. The process involves first, generating a private Root CA and then issuing a private certificate from the Root CA. Once the certificate is issued, we can validate it and then upload the certificate chain to a Temporal Cloud namespace.
Create Private Root CA
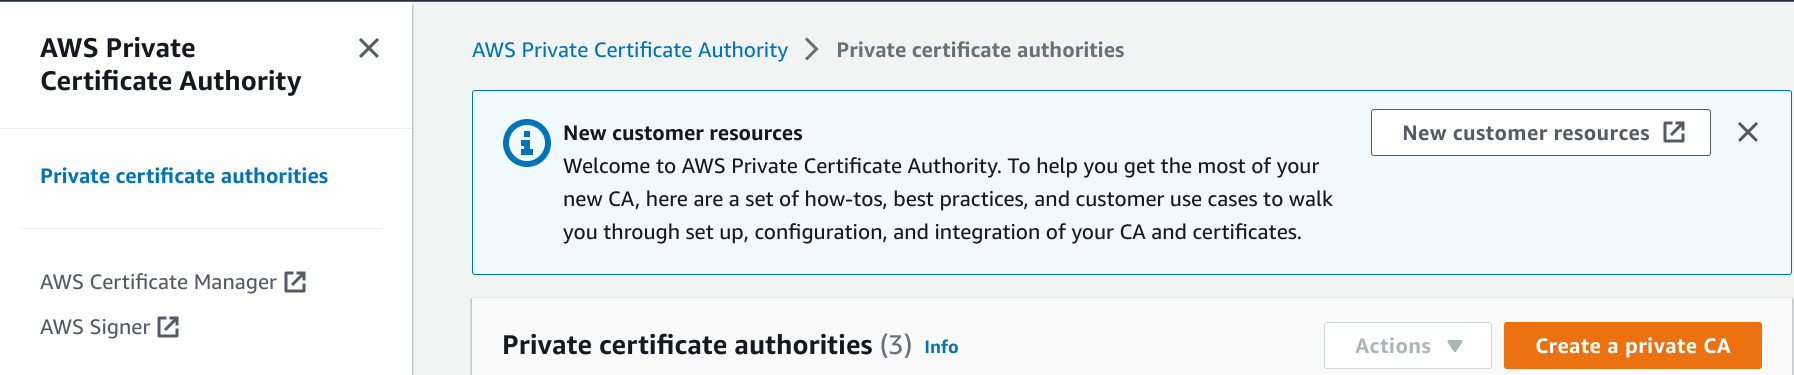
Connect to the AWS Private Certificate Authority.
Next create a private CA.
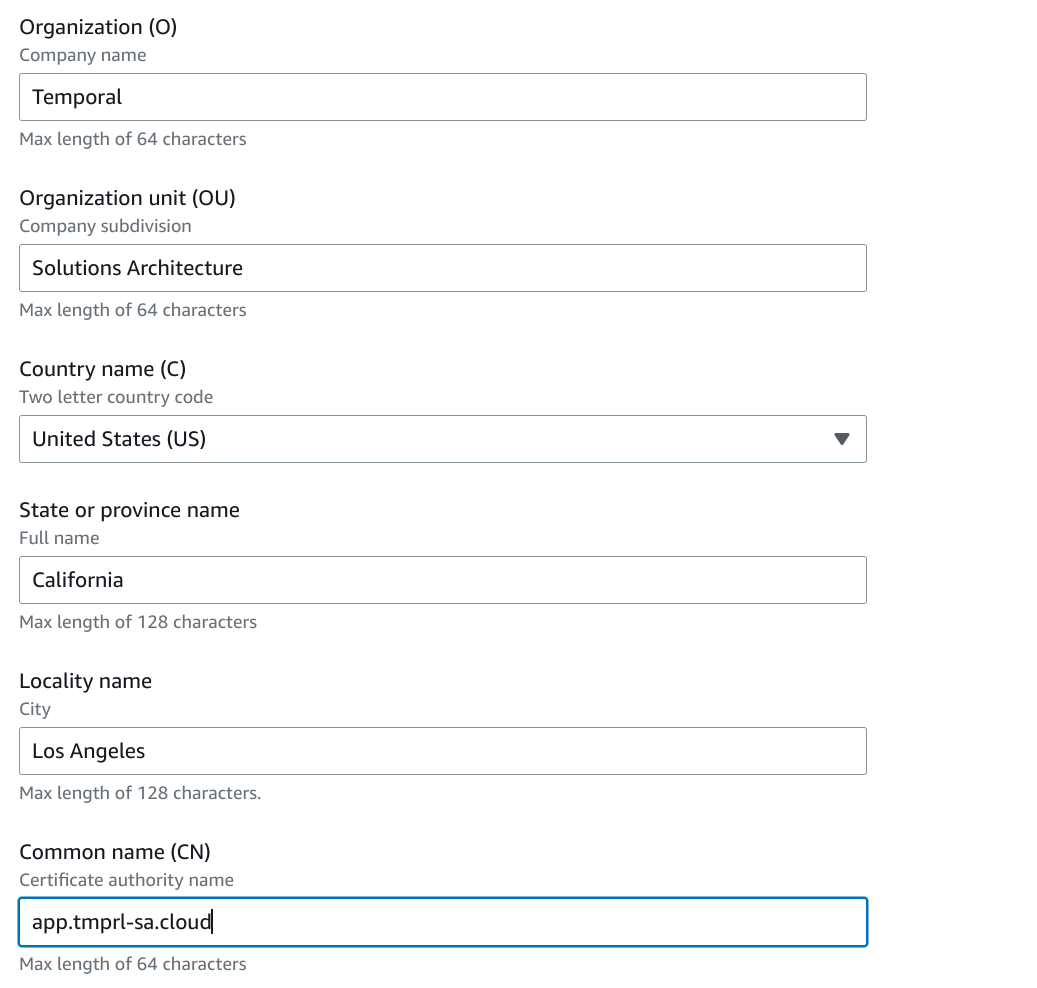
Enter CA details, choose RSA 2048 and create CA.
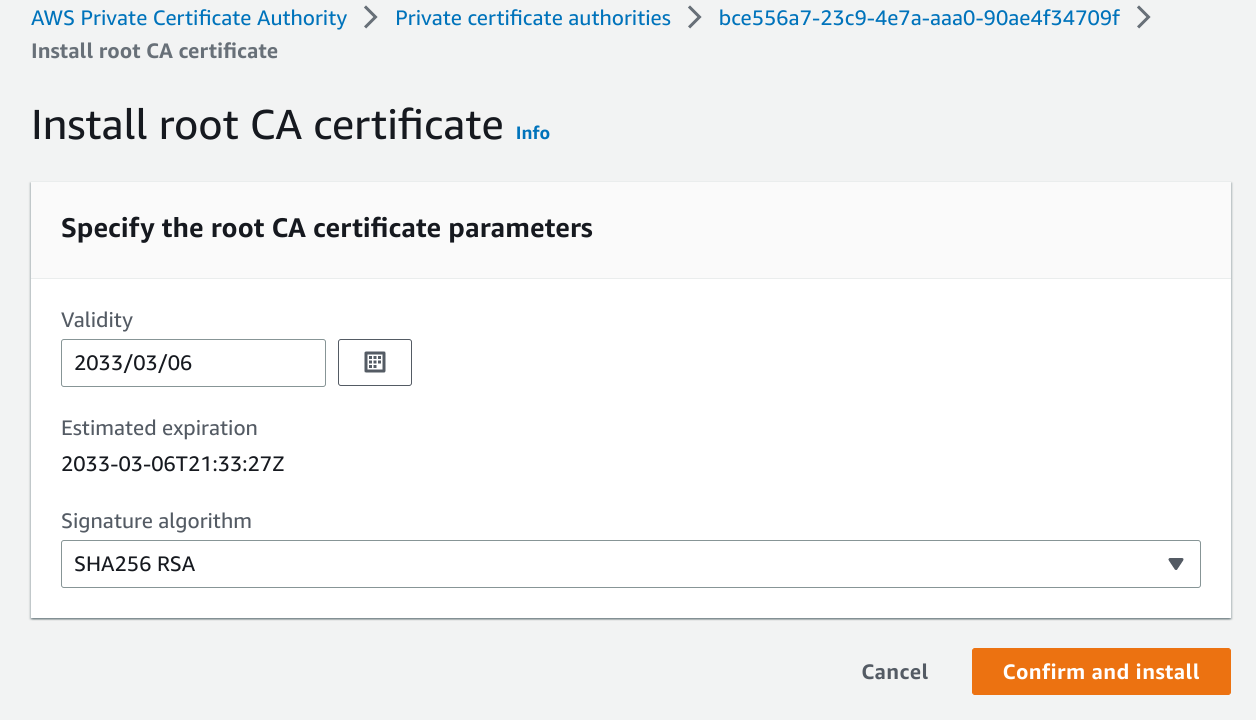
Install CA
Issue Private Certificates
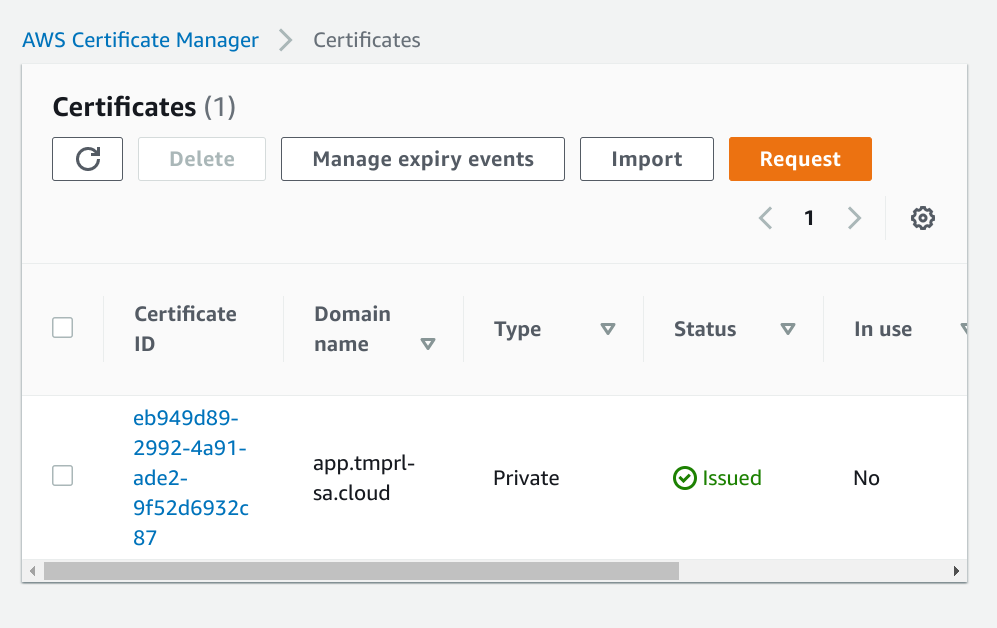
Connect to AWS Certificate Manager.
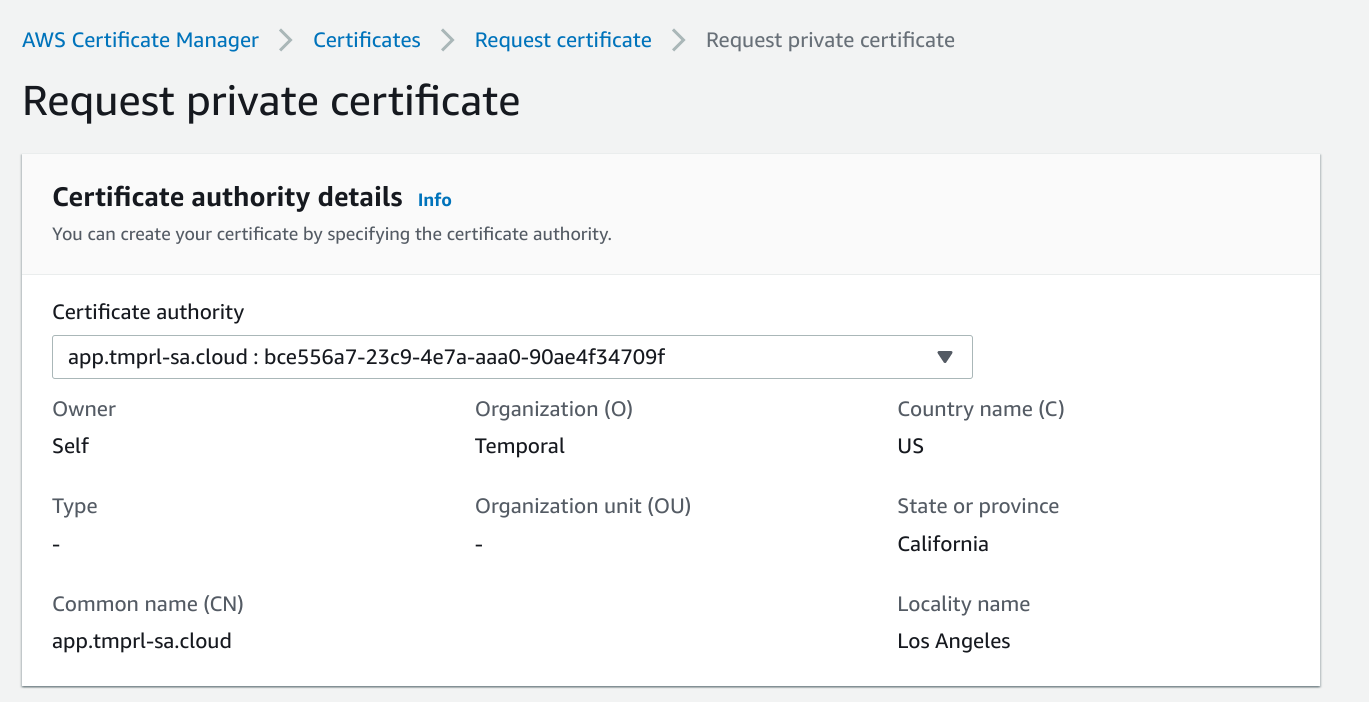
Request private certificate.


Enter CA details.
The certificate will need to be validated but if you are using Route53 for your domain this should happen automatically.
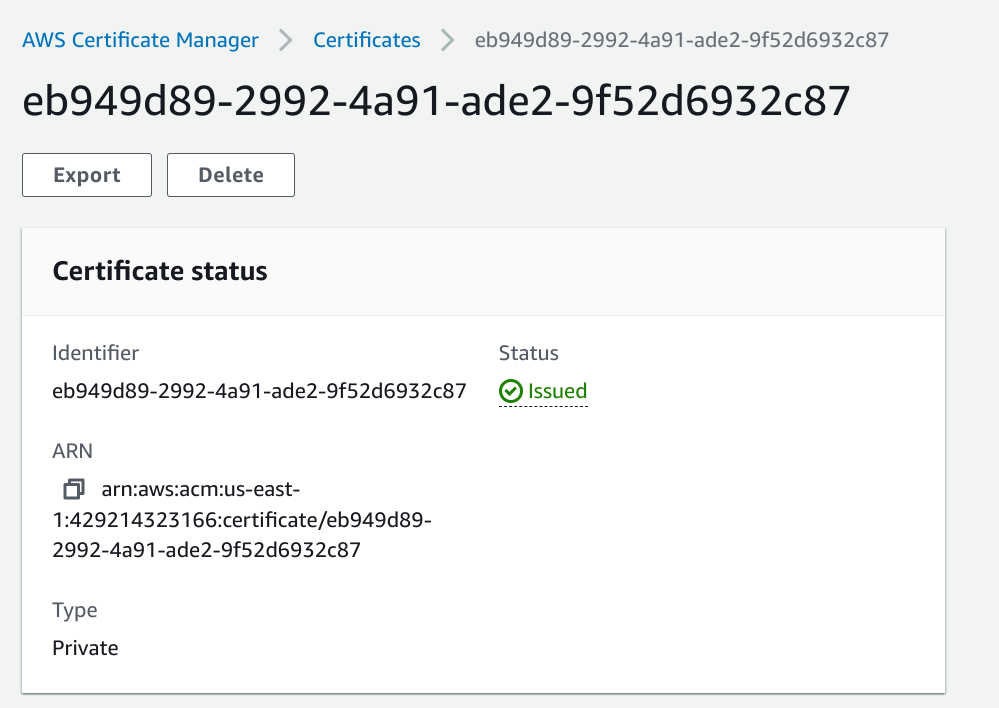
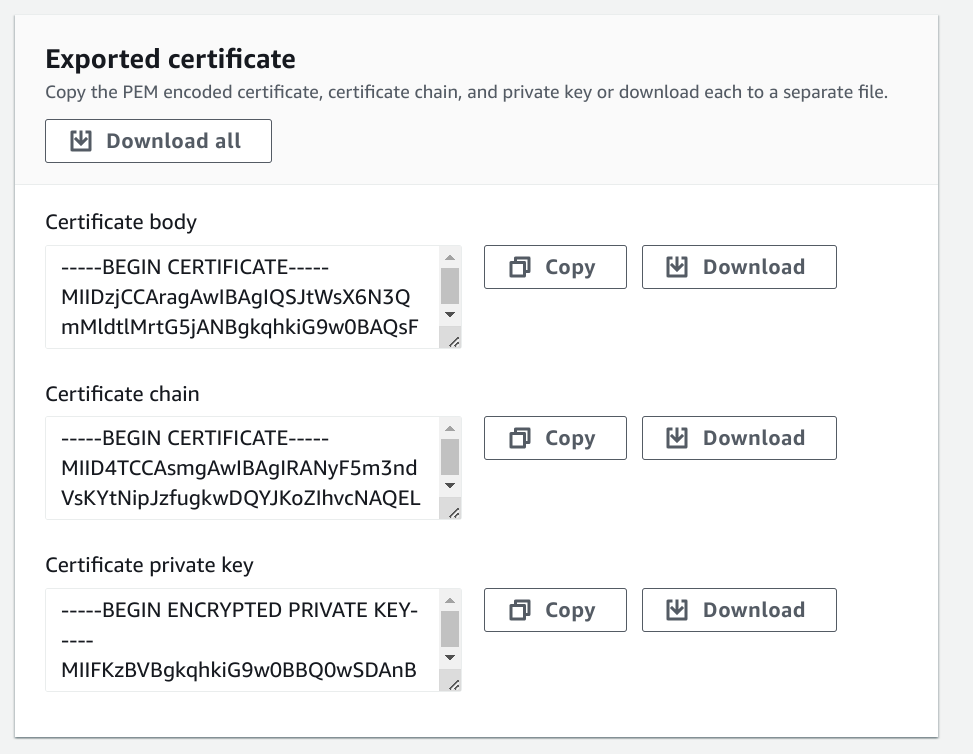
Export certificate. You will need to provide a passphrase for the private key.
Download certificate. This will include the certificate chain, pem and private key.
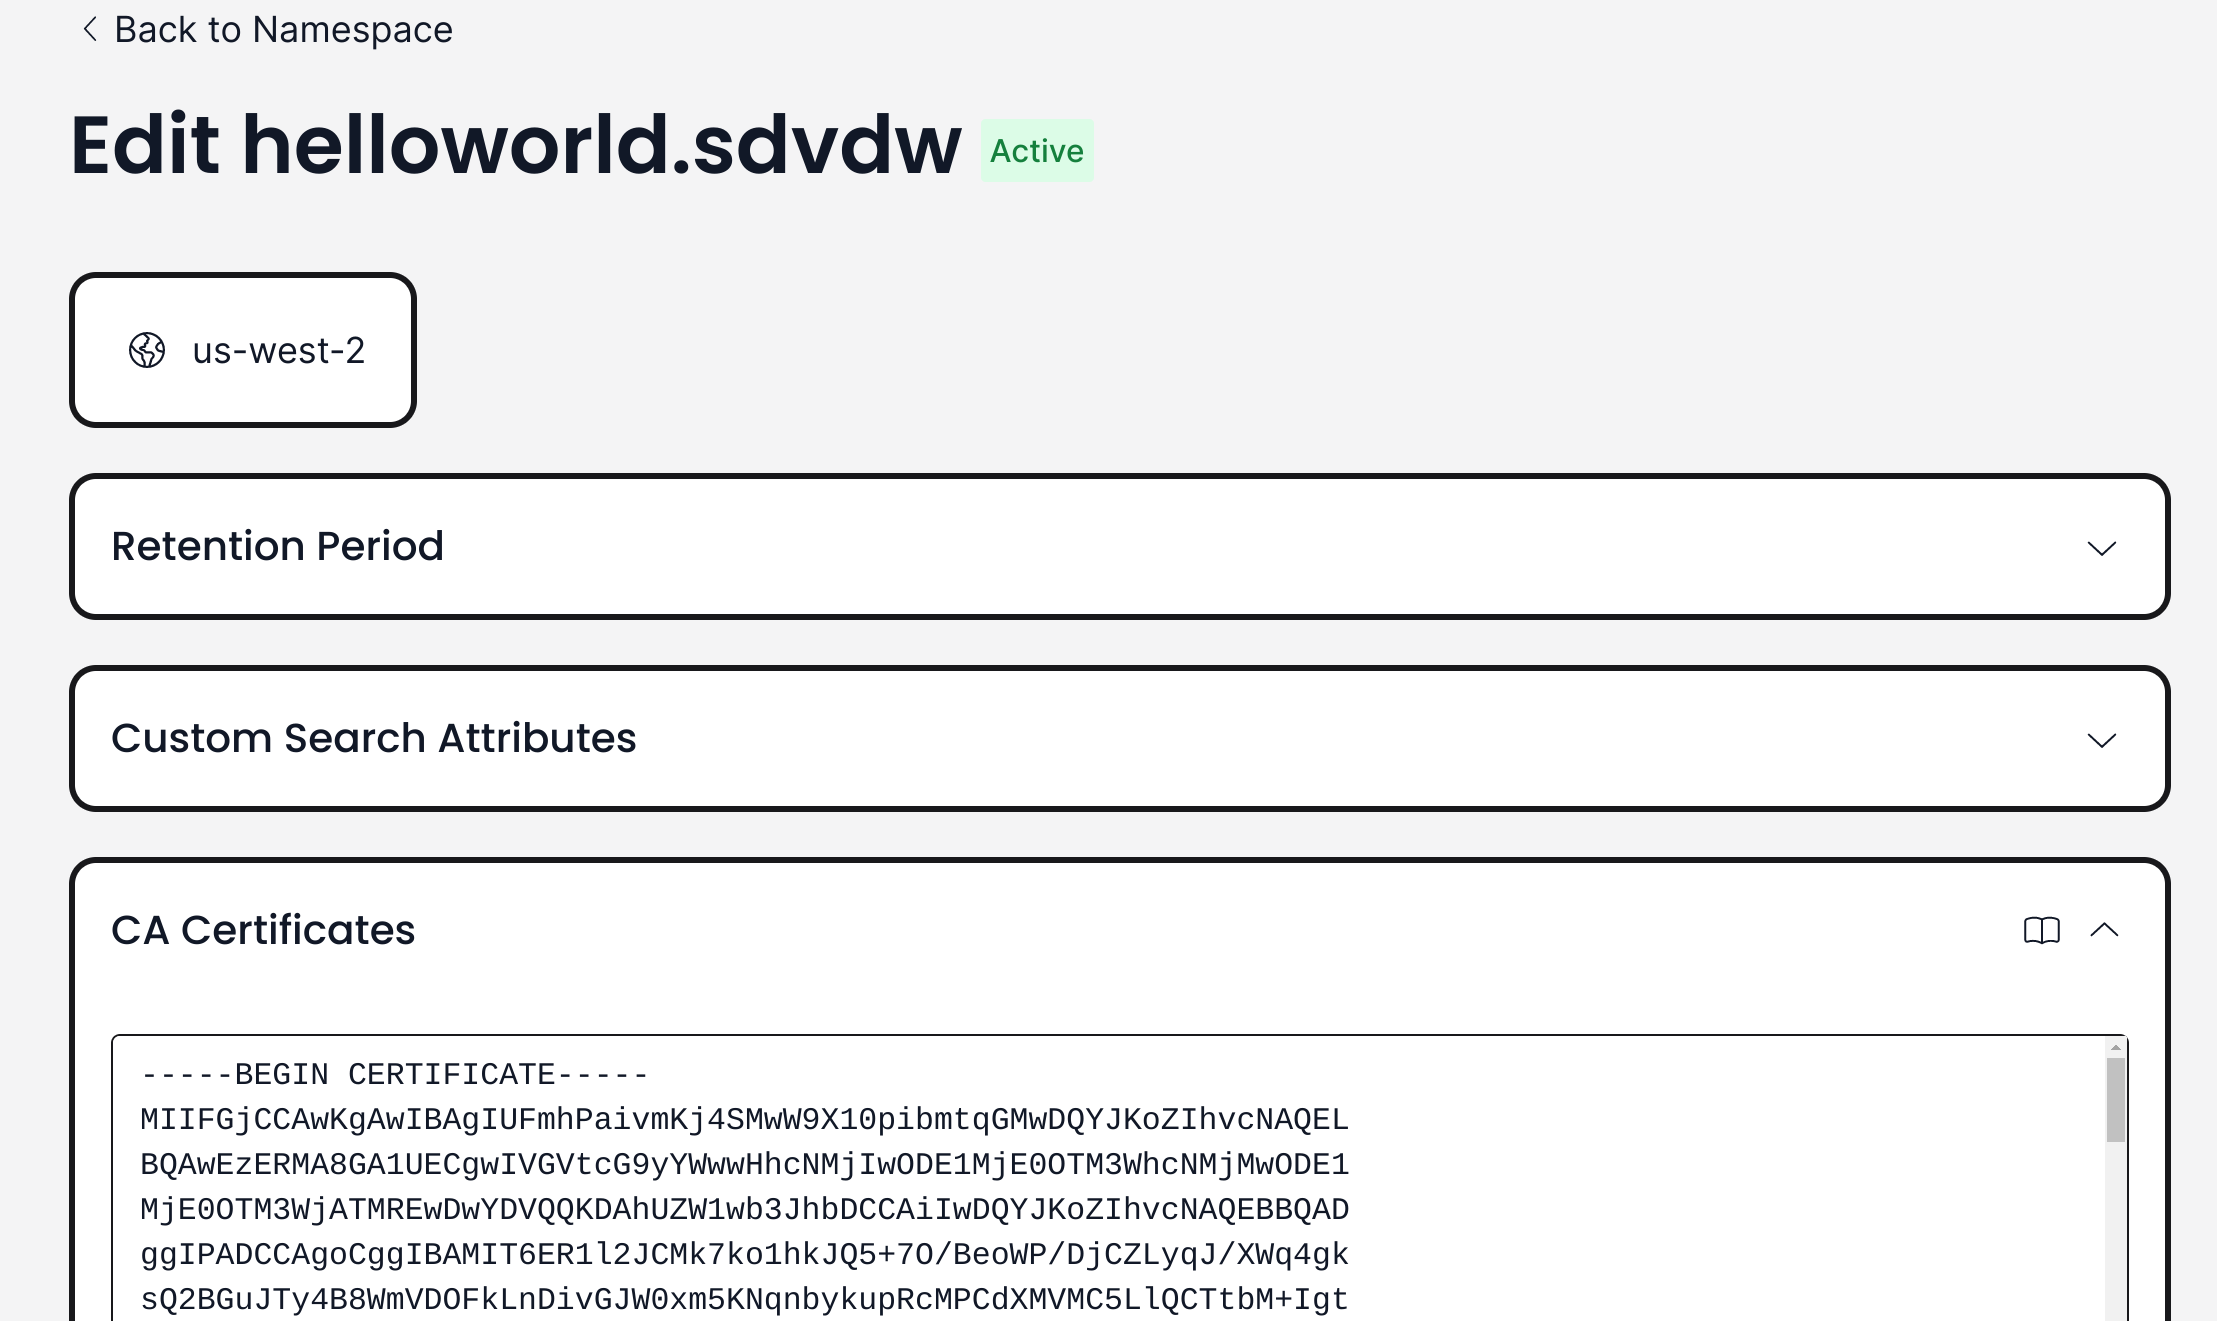
Configure Temporal Cloud Namespace
Upload the certificate chain to your Temporal Cloud namespace.
Validate Certificate
Using openssl, validate the client certificate, private key and pem against the chain stored in our Temporal Cloud namespace. You will be prompted to enter the passphrase.
$ openssl s_client -connect helloworld.sdvdw.tmprl.cloud:7233 --showcerts -cert ./certificate.txt -key ./private_key.txt -tls1_2
Enter pass phrase for ./private_key.txt:
Run Temporal Cloud Worker
The last step is to run your Temporal Cloud worker using the private certificate key and pem. First we need to create a new private key without the passphrase.
$ openssl pkcs8 --in private_key.txt --out private_key_nopass.txt --passin pass:passphrase
Run Temporal Cloud worker using the pem and private key without passphrase. In this example, the private key and pem have been parameterized, both are passed in via the environment.
TEMPORAL_MTLS_TLS_CERT=/home/ktenzer/temporal/certs/aws/certificate.txt TEMPORAL_MTLS_TLS_KEY=/home/ktenzer/temporal/certs/aws/private_key_nopass.txt go run helloworld/worker/main.go
2023/03/06 13:02:43 INFO  No logger configured for temporal client. Created default one.
2023/03/06 13:02:43 INFO  Started Worker Namespace helloworld.sdvdw TaskQueue hello-world WorkerID 105421@fedora@
Troubleshooting
If you are having issues with the requested certificate being validated, check to ensure that the domain for the certificate resolves properly.
$ dig +short _app.tmprl-sa.cloud
a9a7f4279e8654923b3099439e862622-135847838.us-east-1.elb.amazonaws.com.
3.229.33.245
34.231.166.88
If it does not resolve, a CNAME is likely missing in DNS. If using Route53, a CNAME can be added automatically from AWS Certificate Manager.
Summary
In this article we provided a walkthrough for generating private certificates for use in Temporal Cloud using AWS Certificate Manager.
(c) 2023 Keith Tenzer