
Ansible Tower Cluster Configuration Guide

Overview
In this article we will setup and configure an Ansible Tower cluster on Red Hat Enterprise Linux (RHEL). If you are interested in a single all-in-one deployment, I have already documented this here.
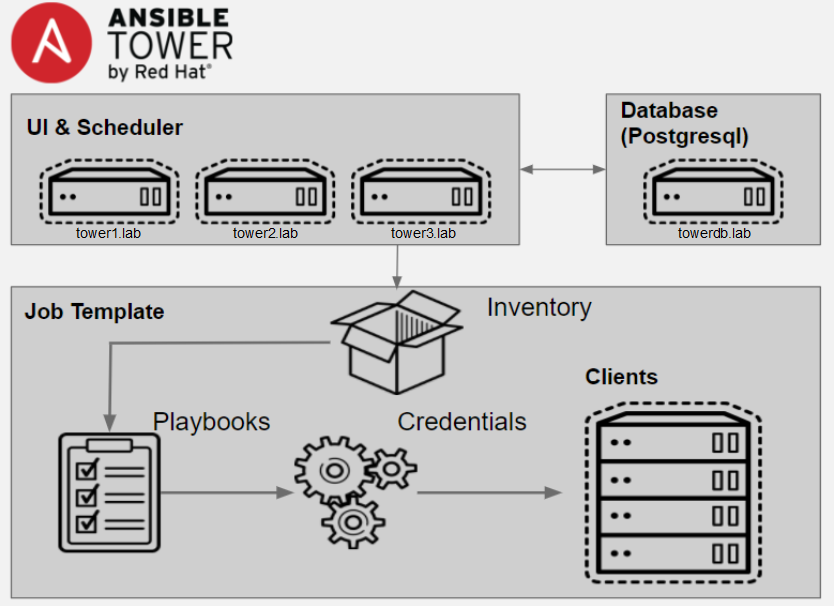
Ansible Tower clustering replaces the traditional active/passive with an active/active configuration. It provides not only HA but scalability as well. Ansible Tower has two critical components: Tower instances running API/Scheduler and the database. RabbitMQ is used for communication between the Tower instances.
Tower Instances
Tower instances can be assigned to instance groups and those can be further assigned to resources (Organizations, Inventories and Job Templates). Jobs executed against a resource are assigned to instance group for execution. Isolated instance groups that overcome physical network boundaries are also possible. In this case a minimal Ansible configuration is used on isolated instances so that a Tower instance can execute playbooks in a network zone where there is no direct access to Ansible client nodes. Ansible Tower accesses isolated groups is via ssh.
Tower Database
Ansible Tower uses PostgreSQL for it's internal database. The options are to use a built-in database, installed via playbook during Tower installation or use external PostgreSQL database. The PostgreSQL database can be clustered in active/passive configuration. If this is desired then it is recommended to setup a standalone external PostgreSQL database.
If you are installing the database using the ansible playbook it will be installed in the default location, /var/lib/pgsql/. You need to make sure /var is backed by fast storage and also large enough.
Load Balancer
A load balancer is recommended. You can either terminate SSL at the load balancer and go http from there or pass SSL through load balancer to Tower instances.
Environment
In this configuration we will setup three Ansible Tower instances and a single Tower database using the built-in installer (playbook). The environment will sized to handle 300 forks (total number of parallel processes that can be run).
Tip: Sizing guidelines suggest 1vCPU per 10 forks and 4GB RAM per 100 forks.
Tower Instance Sizing: 10 vCPUs, 4GB RAM, 25GB Local Storage (>= 750 IOPS)
Note: 10GB of 25GB Local Storage must be dedicated to /var
Tower Database Sizing: 10 vCPUs, 16GB RAM, 25GB Local Storage and 150+ Database Storage (>= 1000 IOPS)
Note: for a demo environment you can optionally exclude database storage.
Prerequisites
Before starting you need to deploy four hosts or VM with RHEL 7.3 or 7.4. Once the hosts are configured and on the network, you can register them with subscription-manager and enable the required repositories. For Ansible Tower you need rhel-7-server-rpms, rhel-7-server-extras-rpms and EPEL.
Ports and instances used by Tower are as follows:
- 80, 443 (normal Tower ports)
- 22 (ssh)
- 5432 (database instance - if the database is installed on an external instance, needs to be opened to the tower instances)
Clustering/RabbitMQ ports:
- 4369, 25672 (ports specifically used by RabbitMQ to maintain a cluster, needs to be open between each instance)
- 15672 (if the RabbitMQ Management Interface is enabled, this port needs to be opened (optional))
[All Nodes]
# subscription-manager register
# subscription-manager list --available
# subscription-manager attach --pool=<pool id>
# subscription-manager repos --disable=*
# subscription-manager repos --enable=rhel-7-server-rpms \
--enable=rhel-7-server-extras-rpms
Install and configure EPEL repositories.
# yum install -y http://dl.fedoraproject.org/pub/epel/epel-release-latest-7.noarch.rpm
Install Ansible.
# yum install -y ansible
Install Ansible Tower
Optional [On towerdb.lab]
Create LVM Volume and Mountpoint for Database.
Postgres writes in 8k pages so we will set blocksize to 8k.
# pvcreate /dev/sdb1
# vgcreate vg_postgres /dev/sdb1
# lvcreate -L 150G vg_postgres -n postgres_disk1
# mkfs.xfs -d su=8k /dev/vg_postgres/psotgres_disk1
[On tower1.lab]
Create Invetory File.
We will use ansible to allow our user (ktenzer) to sudo without password. This is needed for the installer. You can also of course use root to install Tower.
# vi inventory_tower_hosts
[servers]
tower1.lab
tower2.lab
tower3.lab
towerdb.lab
Allow User Privileged Permissions.
# ansible -m lineinfile -a "dest=/etc/sudoers.d/ktenzer \
line='ktenzer ALL=(ALL) NOPASSWD: ALL' create=yes state=present" -u root \
--ask-pass -i ./inventory_tower_hosts servers
Setup ssh keys.
We need to create ssh key and copy it to all nodes for user who will install Tower (in this case ktenzer).
# su - ktenzer
ktenzer$ ssh-keygen
ktenzer$ for p in tower1.lab tower2.lab tower3.lab towerdb.lab; \
do ssh-copy-id $p; done
ktenzer$ for p in tower1.lab tower2.lab tower3.lab towerdb.lab; \
do ssh $p; exit done
Download Ansible Tower.
[ktenzer@tower1 ~]$ curl -O http://releases.ansible.com/ansible-tower/setup/ansible-tower-setup-latest.tar.gz
Extract Tower tarball.
[ktenzer@tower1 ~]$ gunzip ansible-tower-setup-latest.tar.gz
[ktenzer@tower1 ~]$ tar xvf ansible-tower-setup-latest.tar
Configure Tower Installation Inventory File.
[ktenzer@tower1 ~]$ cd ansible-tower-setup-3.2.1/
[ktenzer@tower1 ~]$ vi inventory
[tower]
tower1.lab
tower2.lab
tower3.lab

[database]
towerdb.lab

[all:vars]
ansible_become=true

admin_password='redhat01'

pg_host='towerdb.lab'
pg_port='5432'

pg_database='tower'
pg_username='tower'
pg_password='redhat01'

rabbitmq_port=5672
rabbitmq_vhost=tower
rabbitmq_username=tower
rabbitmq_password=redhat01
rabbitmq_cookie=rabbitmqcookie

# Needs to be true for fqdns and ip addresses
rabbitmq_use_long_name=true
Run Setup.
[ktenzer@tower1 ~]$ ./setup.sh
PLAY RECAP *****************************************************************************************
tower1.lab : ok=118 changed=54 unreachable=0 failed=0
tower2.lab : ok=112 changed=52 unreachable=0 failed=0
tower3.lab : ok=112 changed=52 unreachable=0 failed=0
towerdb.lab : ok=46 changed=18 unreachable=0 failed=0
Configure Ansible Tower
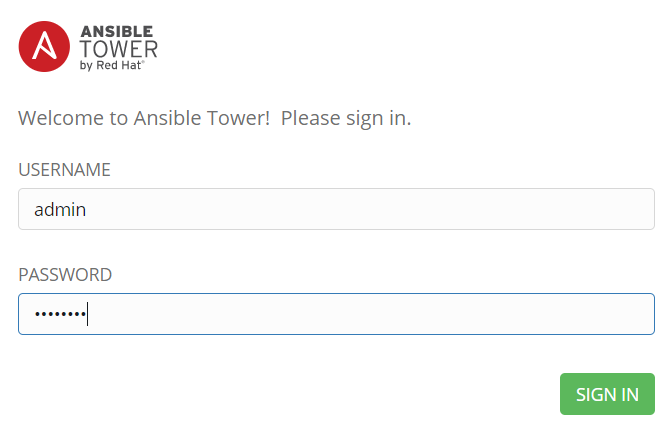
Ansible Tower Provides a RESTful API, CLI and UI. To connect to the UI simply open browser using https and point to your Ansible Tower IP or hostname.
https://<Ansible Tower IP or Hostname>
Login using the user you configured in the inventory file, in this case admin/redhat01.
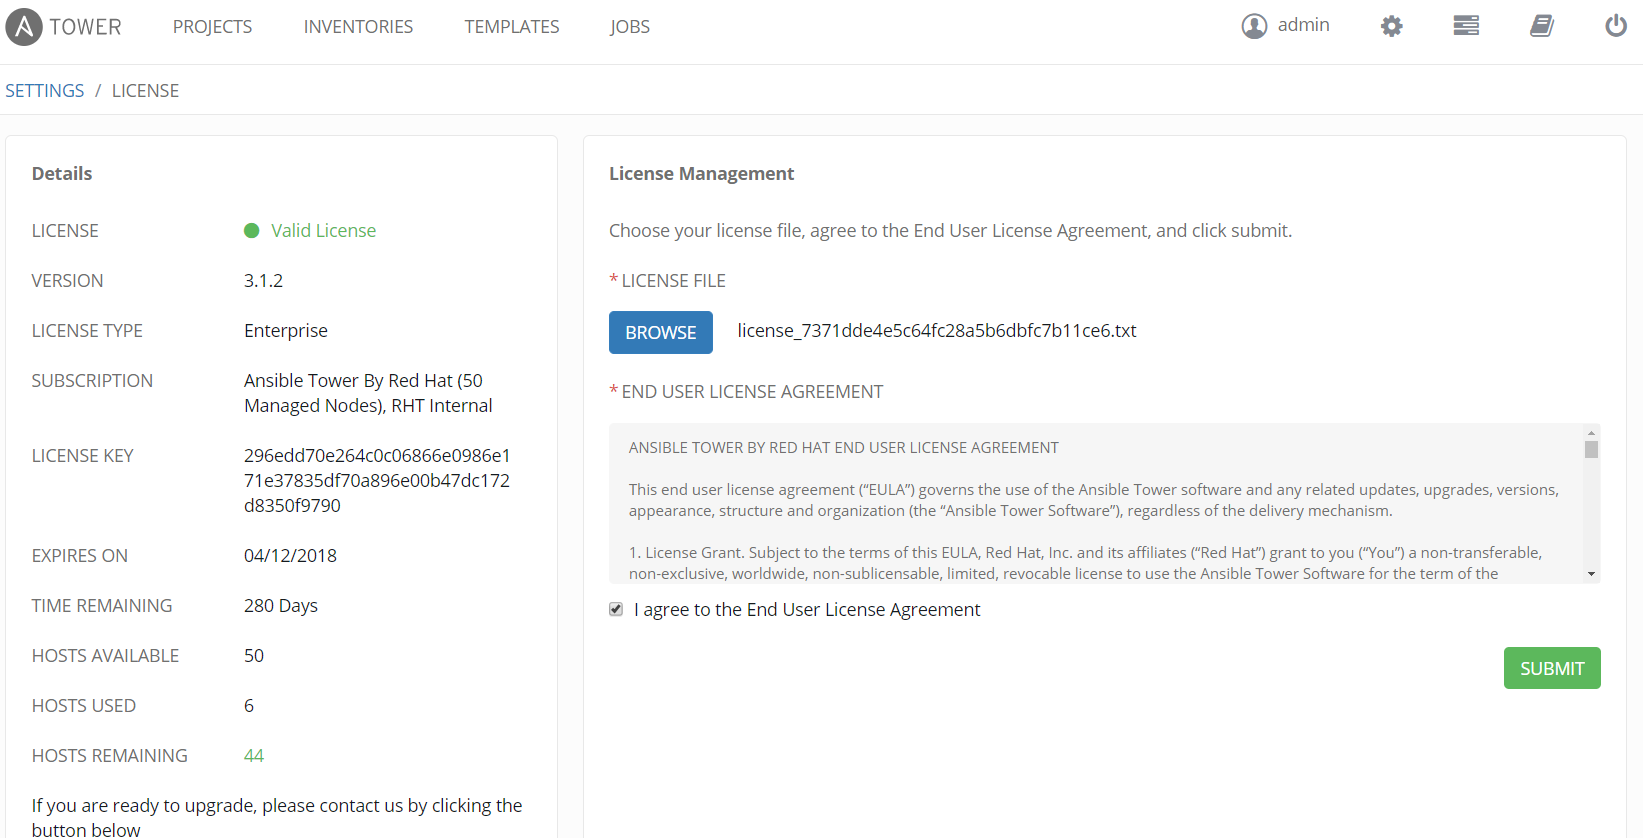
Once you are logged in, you need to install Tower license. Tower license comes in a file, so simply browse to the file and accept the terms. If you don't have a license you can get a trial here.
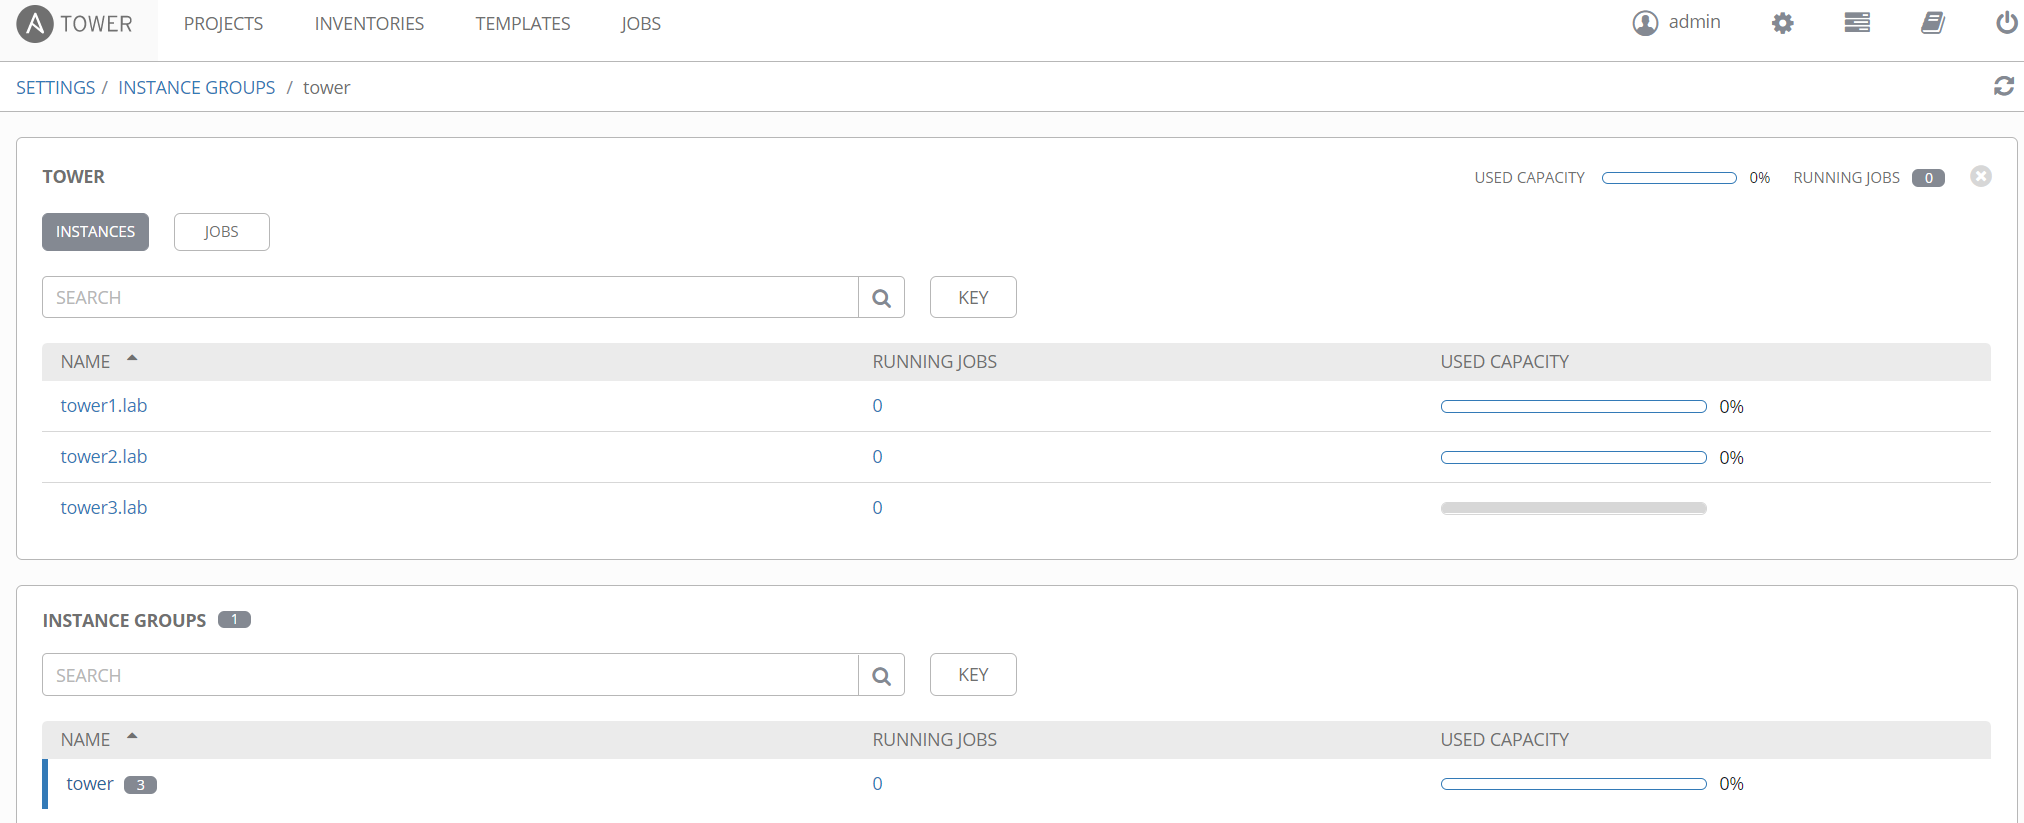
Verify Tower instances under settings (next to the user, upper right).
Summary
In this article we explained a bit about Tower clustering and a general way to approach sizing. In addition we went through the easy installation steps to deploy a cluster with three Tower instances and a database. Regardless of if you are new to Ansible or experienced, Tower is definitely worth looking at as it provides a solid management platform for Ansible, making Ansible even easier and more powerful!
Happy Ansibleling!
(c) 2017 Keith Tenzer