
Powerful but Simple CI/CD with Azure DevOps and Go

Overview
Microsoft has wasted little time getting value out of their GitHub acquisition. They have now fully integrated GitHub and authentication into an already powerful DevOps platform called "Azure DevOps". I have until this moment had zero enjoyment, setting up and maintaining CI/CD tooling usually involving some form of our dear butler, Jenkins. Nothing wrong with our old Jenkins but let's face it, he is just overhead at this point, better to just put him to rest, he has earned it.
Azure DevOps has the following value:
- It's in the cloud, consumed as-a-service
- Completely Integrated with GitHub
- It is free
- Authentication using GitHub user
- Don't need to use it with Azure
- Supports basically every language, I am doing CI/CD with Go
- Simple yaml to configure no Groovy/DML Jenkins horror
- Yaml pipeline files auto-generated for your language (just needs minor tweaks)
- Your code is built, unit tests are run, you can do acceptance tests and it is setup in a few minutes
Getting Started with Go
Sign-up
I simply used my GitHub account: https://azure.microsoft.com/en-in/services/devops/
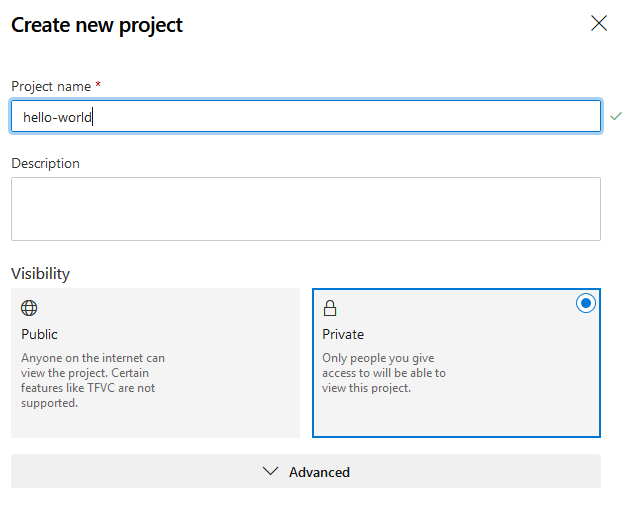
Create Project
You can create a private or public project.
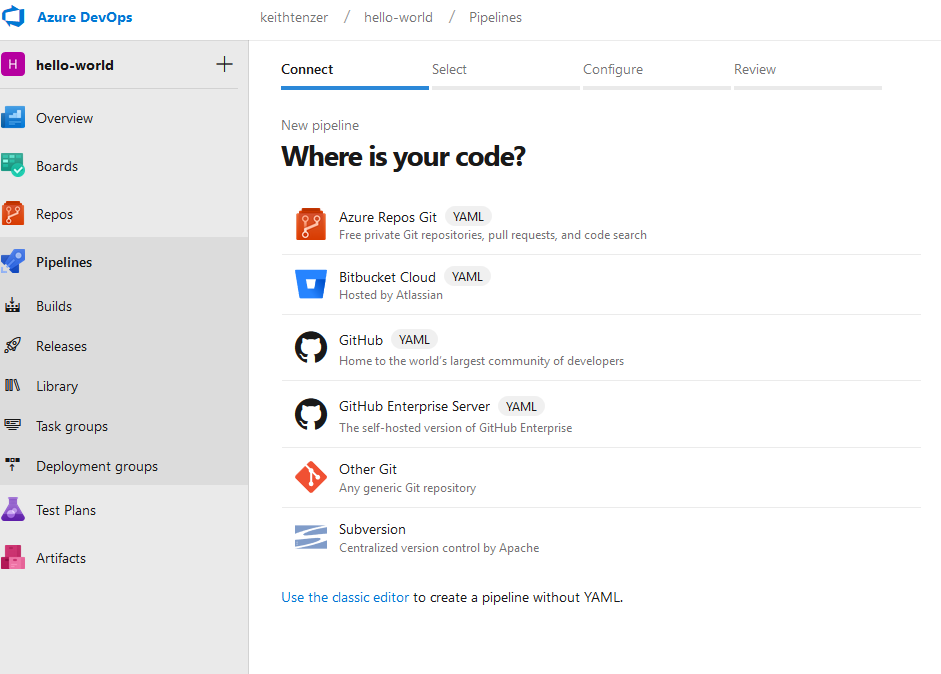
Select Source Control Management
I am using GitHub.
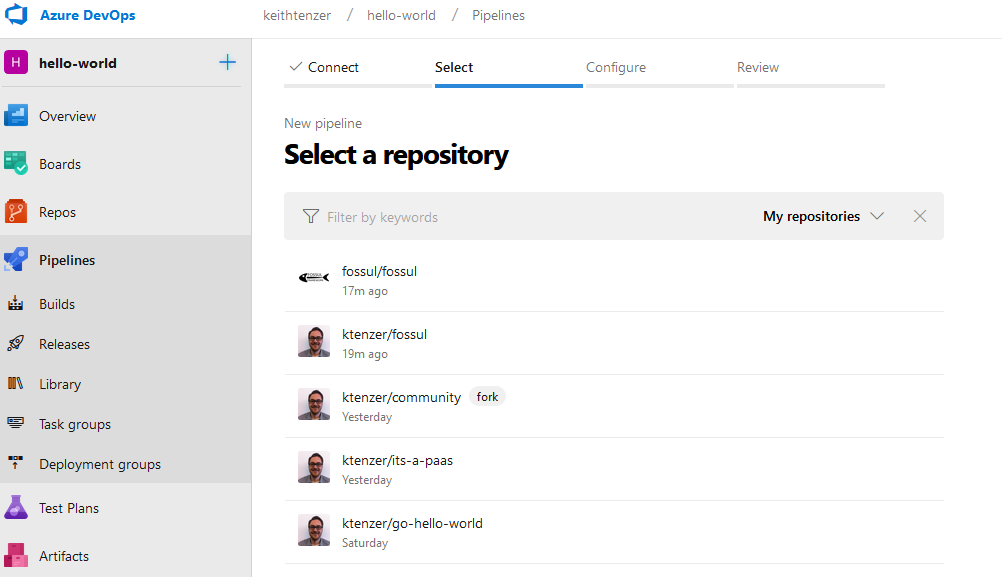
Select Repository
In this case I am using ktenzer/go-hello-world
Configure Pipeline
Azure DevOps generates a base pipeline so it is really easy to tweak things. In the case of Go, hopefully you are using dep for dependency management. Due to your source tree structure and using dep or other tools you may need to tweak a few things. You can view my source tree at https://github.com/ktenzer/go-hello-world.
# Go
# Build your Go project.
# Add steps that test, save build artifacts, deploy, and more:
# https://docs.microsoft.com/azure/devops/pipelines/languages/go

trigger:
- master
- feature/*

pr:
- master

pool:
  vmImage: 'ubuntu-latest'

variables:
  GOPATH: '$(system.defaultWorkingDirectory)/gopath' # Go workspace path
  GOBIN:  '$(GOPATH)/bin' # Go binaries path
  PLUGIN_DIR: '$(GOBIN)'
  modulePath: '$(GOPATH)/src/hello' # Path to the module's code

steps:
- script: |
    echo "GOBIN $(GOBIN)"
    echo "GOPATH $(GOPATH)"
    echo "REPO PATH $(GOPATH)/src/github.com/$(build.repository.name)"

    mkdir -p '$(GOPATH)'
    mkdir -p '$(GOBIN)'
    mkdir -p '$(GOPATH)/pkg'
    mkdir -p '$(modulePath)'
    echo "Moving $(system.defaultWorkingDirectory)/* To $(modulePath)"
    mv $(system.defaultWorkingDirectory)/* $(modulePath)
    shopt -s extglob
    shopt -s dotglob
    echo '##vso[task.prependpath]$(GOBIN)'
    echo '##vso[task.prependpath]$(GOROOT)/bin'
  displayName: 'Set up the Go workspace'

- script: |
    go version
    if [ -f Gopkg.toml ]; then
        curl https://raw.githubusercontent.com/golang/dep/master/install.sh | sh
        dep ensure
    else
      echo "ERROR no Gopkg.toml found!"
      exit 1
    fi
    go install hello/src/hello
  workingDirectory: '$(GOPATH)/src/hello'
  displayName: 'Get dependencies, then build'

- script: |
    $(GOBIN)/hello &
    PS=`ps -ef |grep hello |grep -v grep |awk '{print $2}'`
    echo "hello $PS"
    curl http://localhost:8000/status
    kill -9 $PS
The trigger will always run pipeline for every new commit. The pr will force all pull requests (in this case in feature branch) to go through pipeline and validation. This allows someone else to review the changes before merging into master.
In addition to building the code using dep I am providing and example of a simple acceptance test for this service using curl to send API response.
Since you essentially have a bash interface through the "script" module you can really do anything and do so very easily.
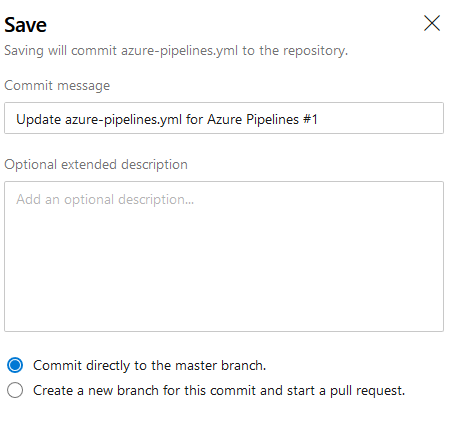
Save Pipeline
The pipeline yaml file is stored directly in the Github repository.
Once pipeline is committed it is started. From now on any code change or update to the Repository will cause the pipeline to run.
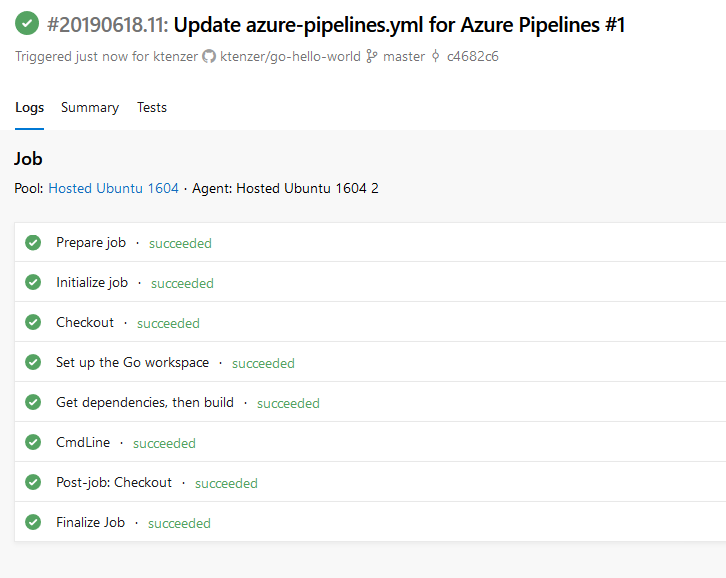
Each pipeline step is shown and you can drill in to see details. Makes it really easy to troubleshoot especially since you can use bash commands like echo to see variables or paths.
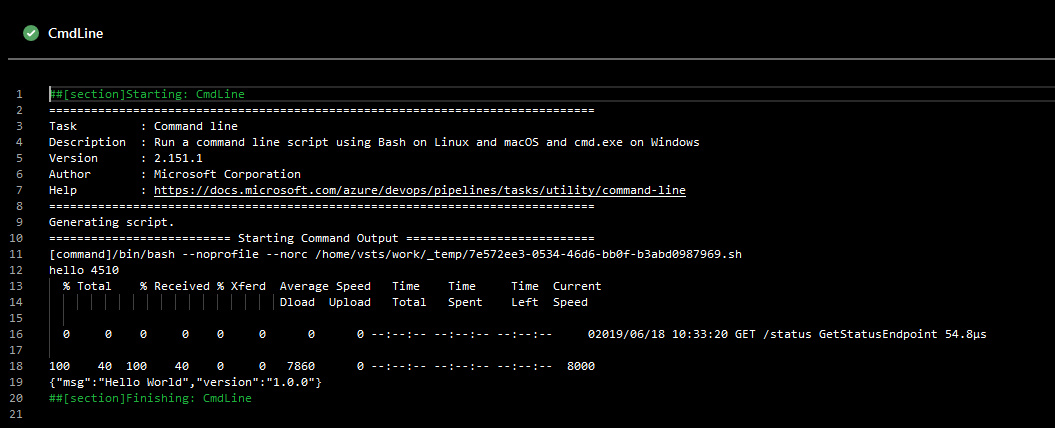
Drilling into the Cmdline step we see our acceptance test execute.
CI/CD Demo
Now that we can successfully build our code using Azure DevOps it is time to see it in action. I recommend doing all work in a feature branch and then a pull request from that. In this case we will commit bad code that breaks the build and fix it. A common CI/CD lifecycle without of course jeopardizing the master branch.
First we commit broken code via a pull request. We can see the pipeline is running.

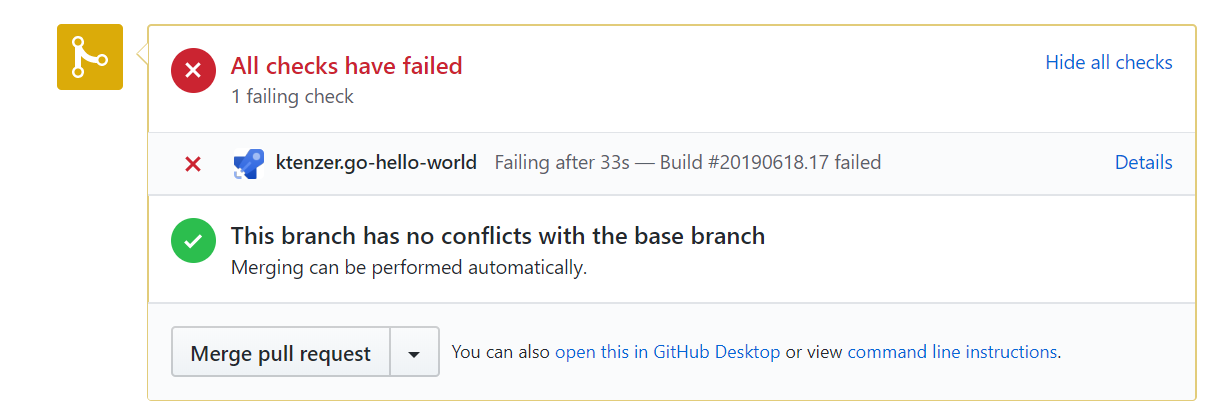
The pipeline failed and updated the commit request in the feature branch.

More details on the failed commit.
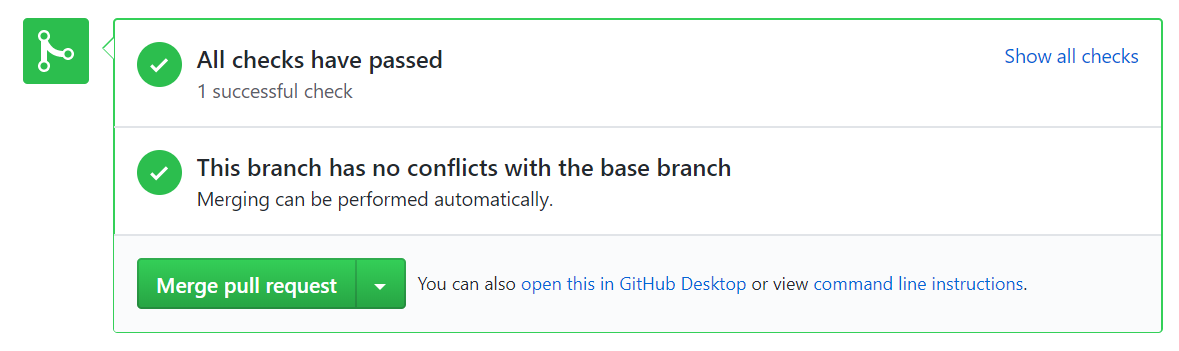
Next we will fix the broken code. Again pipeline runs but this time it is successful.

Finally the code can be merged to the master branch.
Looking at Azure DevOps we can also see both of the pipeline runs and notice the icon for a branch.

That is how easy CI/CD can be!
Summary
In this article we discussed Azure DevOps and it's value for offloading CI/CD to the cloud. We also saw a hands-on tutorial to get Azure Devops up and running with Go. Many organizations already use GitHub private and public, in my view, this is just the next logical step. Why maintain CI/CD infrastructure and deal with the complexities on-premise? I must say I was very surprised at the quality and ease of Azure DevOps. It took a friend of mine quite some time to convince me to try it but I finally did and am not looking back.
Happy CI/CD'ing!
(c) 2019 Keith Tenzer